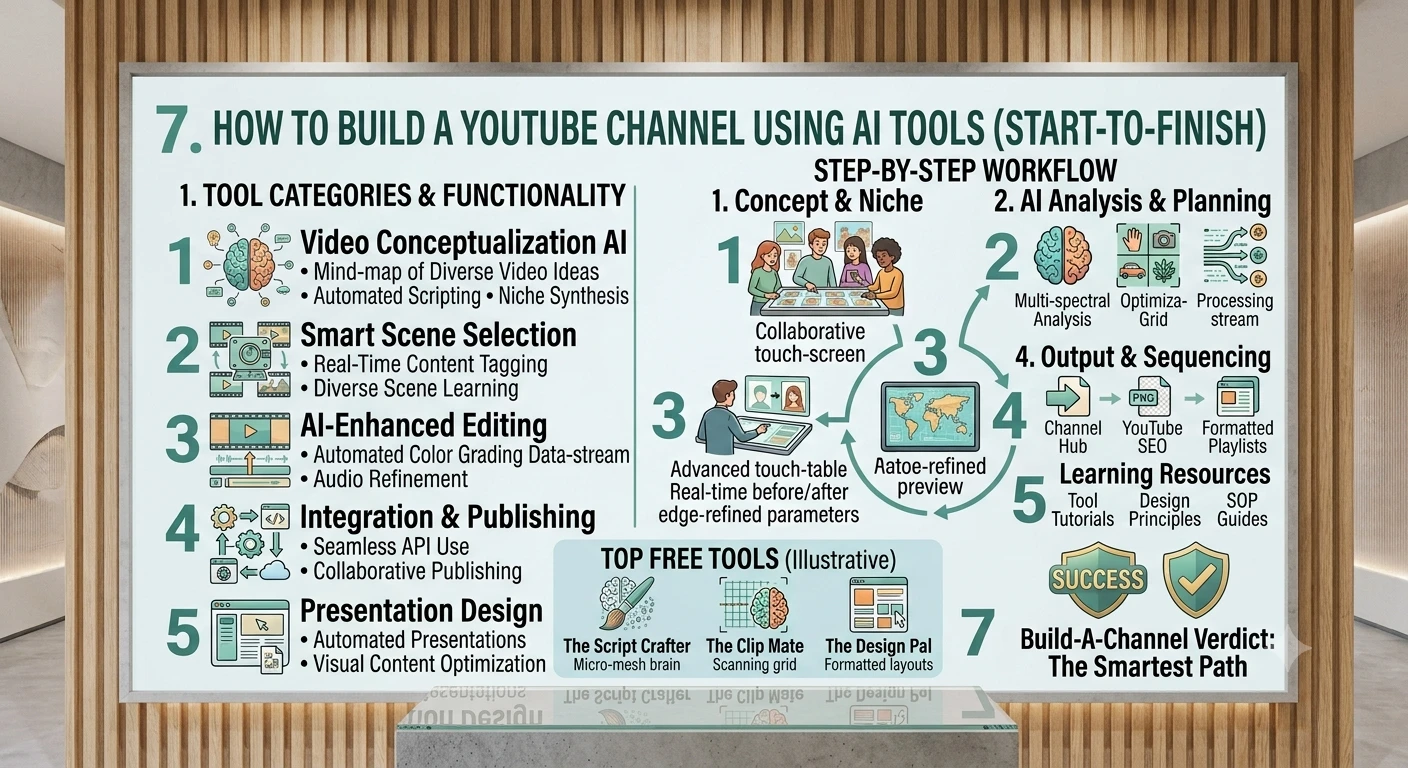
From idea to upload — how AI tools can support every stage of building a YouTube channel.
1. Before You Start: Mindset & Realistic Expectations
AI tools can help you write, speak, animate, and edit — but they cannot replace a clear niche, consistency, and genuine value to viewers. Think of AI as a team of assistants: a writer, a voice actor, an animator, and an editor, all working under your direction. You are still the director.
What AI Can Do For You
- Generate video scripts and outlines in minutes
- Turn text into realistic voiceovers in many languages and accents
- Create images, animated avatars, and B-roll footage without a camera
- Auto-edit raw footage into a polished video with captions
- Design thumbnails and write SEO-friendly titles/descriptions
What AI Cannot Do For You
- Pick a niche you'll actually enjoy making 50+ videos about
- Guarantee views — YouTube still rewards consistency and audience retention
- Replace your unique perspective, personality, or storytelling instincts
Tip: Plan for at least 8–12 weeks of consistent uploading before judging results. YouTube's algorithm needs data on multiple videos to understand who to show your content to.
2. Step 1 — Choose Your Niche and Channel Identity
Your niche is the topic area your channel focuses on (e.g., personal finance, true crime, AI news, cooking, kids' stories, motivational content). A focused niche helps YouTube understand your channel and helps viewers know what to expect.
How to Choose (Using AI)
- Open an AI chatbot (ChatGPT, Claude, or Gemini) and describe your interests, skills, and how much time you can commit weekly.
- Ask it to suggest 10 YouTube niche ideas that match low competition with steady search demand.
- Cross-check ideas using YouTube's own search bar (autocomplete shows what people search for) and Google Trends.
- Pick ONE niche and write a one-sentence channel mission, e.g., 'I help beginners save money using simple weekly challenges.'
Decide On
- Channel name — short, easy to spell, available as a handle
- Video format — talking-head, faceless/AI-narrated, animation, screen recording, or a mix
- Upload frequency — pick a realistic number (1/week is a strong, sustainable start)
3. Step 2 — Research Topics & Competitors with AI
Before writing anything, research what's already working in your niche so you're not guessing.
1. Search your niche keywords on YouTube and note the top 5–10 videos by views.
2. Use an AI tool (ChatGPT/Claude) to summarize what those top videos likely cover, based on their titles and descriptions, and identify gaps you could fill. 3. Use a keyword tool such as TubeBuddy, VidIQ, or Google Keyword Planner to find search volume for topic ideas. 4. Build a running list of 20–30 video ideas in a spreadsheet before you film a single video — this removes 'what do I make next' stress.
4. Step 3 — Write Scripts Using AI
A good script keeps viewers watching, which is the single biggest ranking factor on YouTube (watch time and retention).
AI Script-Writing Tools
- ChatGPT / Claude / Gemini — free, general-purpose script and outline writing
- Jasper / Copy.ai — templates specifically built for video scripts and hooks
A Reliable Prompt Structure
Give the AI: your topic, target audience, desired video length, tone (casual, energetic, calm), and a request for a strong first 10-second hook. Example: “Write a 5-minute YouTube script about [topic] for beginners in [niche]. Start with a hook that creates curiosity in the first 2 sentences. Use short sentences and simple words. End with a call to action to subscribe.”
Script Structure That Works
- Hook (0–15 sec) — a question, bold claim, or surprising fact
- Promise — tell viewers exactly what they'll get from watching
- Body — 3–5 main points, each with a clear transition
- Recap — quickly summarize the value delivered
- Call to action — subscribe, comment, or watch a related video
Always edit the AI's draft in your own voice — remove generic phrases and add personal examples. Viewers can tell when a script feels robotic.
5. Step 4 — Turn Scripts Into Voiceovers with AI
If you don't want to (or can't) record your own voice, AI text-to-speech tools generate natural-sounding narration from your script.
Popular AI Voice Tools
- ElevenLabs — very realistic voices, supports emotion and multiple languages
- Murf AI — good for corporate/explainer style narration
- Play.ht — large voice library, good for long-form content
- Google/YouTube built-in TTS — free option inside some editing tools
How To
1. Paste your finished script into the tool. 2. Choose a voice that matches your channel's tone (energetic for entertainment, calm for education).
3. Adjust pacing/pauses at punctuation marks so it doesn't sound rushed. 4. Export as a high-quality WAV or MP3 file.
6. Step 5 — Create Visuals: AI Images, Avatars & Stock Footage
You have three main visual routes, and you can mix all three in one video.
Option A — AI Talking Avatar
- HeyGen or Synthesia — turn your script/voiceover into a realistic talking avatar presenter, no camera needed
Option B — AI-Generated Images & B-roll ● Midjourney , DALL·E , or Leonardo AI — generate custom illustrations or scenes for each point in your script
- Runway or Pika — generate short AI video clips from text prompts
Option C — Stock Footage + AI Search ● Pexels and Pixabay — free stock video/images; some editors have built-in AI search that matches clips to your script automatically
Match one visual per script sentence or idea — this is what most faceless AI channels do, and it keeps viewers visually engaged.
7. Step 6 — Edit the Video Using AI Video Tools
AI editing tools can auto-assemble your voiceover, visuals, captions, music, and transitions into a finished video.
Beginner-Friendly AI Editors
- CapCut (free, mobile & desktop) — auto-captions, auto B-roll matching, templates
- Pictory — turns scripts/articles directly into edited videos with stock footage
- InVideo AI — full text-to-video generation with editable timeline
- Descript — edit video by editing the text transcript; removes filler words automatically
Basic Editing Checklist
- Import voiceover audio as the base timeline.
- Drop in matching visuals/avatar clips per section.
- Auto-generate captions (also boosts accessibility and watch time).
- Add background music at low volume (YouTube Audio Library is free and copyright-safe).
- Trim dead air and repeated words; keep pacing tight, especially in the first 30 seconds.
- Export in 1080p (or higher) at the correct aspect ratio — 16:9 for long-form, 9:16 for Shorts.
8. Step 7 — Design Thumbnails That Get Clicks
The thumbnail and title work together to earn the click. Even a great video gets no views without one.
AI Thumbnail Tools
- Canva (Magic Media/AI features) — templates plus AI image generation, easiest for beginners
- Midjourney/Leonardo AI — generate a unique background or character image
- Photoroom — AI background removal to cut out your subject cleanly
Thumbnail Best Practices
- Use 3–5 bold words max — thumbnails are viewed small on mobile
- High contrast colors and a clear focal point (face or object)
- Keep it different from your title — thumbnail + title should complete each other, not repeat
9. Step 8 — Write Titles, Descriptions & Tags (AI SEO)
YouTube is a search engine. Good metadata helps it understand and recommend your video.
- Ask an AI chatbot for 10 title variations based on your topic and top keyword; pick the one that's clear, specific, and creates curiosity (avoid clickbait that doesn't deliver).
- Write a description with the main keyword in the first sentence, followed by a short summary and helpful links.
- Ask AI to generate 10–15 relevant tags/keywords for the video.
- Use tools like VidIQ or TubeBuddy (both have AI suggestions) to check keyword competition before finalizing.
10. Step 9 — Upload, Schedule & Publish
- Go to YouTube Studio fi Create fi Upload Video.
- Add your file, title, description, tags, and thumbnail.
- Choose the correct category and add end screens + cards linking to another video or subscribe button.
- Add captions/subtitles file if not auto-generated by your editor.
- Set a consistent day/time to publish, and use the Schedule feature so videos go live automatically.
Consistency in upload timing helps train your regular viewers on when to expect new content.
11. Step 10 — Promote and Grow Your Channel
- Repurpose your long video into 2–3 Shorts using AI clipping tools like Opus Clip or Vidyo.ai , which auto-detect the best highlight moments
- Share Shorts/clips on Instagram Reels, TikTok, and Pinterest to drive traffic back to your channel
- Reply to every comment on your first 20–30 videos — early engagement signals help the algorithm
- Study your YouTube Studio Analytics weekly: watch which videos have the best 'audience retention' graph and make more like them
- Collaborate or cross-promote with small creators in your niche once you have a base of videos
12. Step 11 — Monetize Your Channel
Once eligible, common income routes include:
- YouTube Partner Program — ad revenue (requires meeting YouTube's current subscriber/watch-hour thresholds)
- Affiliate marketing — linking products relevant to your niche in the description
- Sponsorships — brands pay for a mention or dedicated segment once you have an engaged audience
- Digital products — templates, courses, or presets related to your niche
Note: Monetization program requirements change periodically — always check YouTube's current Partner Program terms directly on YouTube before planning around specific numbers.
13. Complete AI Tool Stack (Free & Paid)
| Purpose | Tool Options | Free Tier? |
|---|---|---|
| Scriptwriting | ChatGPT, Claude, Gemini | Yes |
| Voiceover (TTS) | ElevenLabs, Murf, Play.ht | Limited free |
| AI Avatar Presenter | HeyGen, Synthesia | Limited free |
| AI Images | Midjourney, DALL·E, Leonardo AI | Limited free |
| AI Video Clips | Runway, Pika | Limited free |
| Stock Footage | Pexels, Pixabay | Yes |
| Video Editing | CapCut, Pictory, InVideo AI, Descript | Yes / limited |
| Thumbnails | Canva, Photoroom | Yes / limited |
| SEO & Keywords | VidIQ, TubeBuddy | Limited free |
| Shorts/Clipping | Opus Clip, Vidyo.ai | Limited free |
14. Sample Beginner Workflow (Start to Finish, One Video)
- Pick a topic from your idea list (5 min)
- Generate a script with an AI chatbot, then edit it in your own words (30–45 min)
- Generate the voiceover in ElevenLabs or Murf (10 min)
- Generate/collect visuals — AI images, avatar clip, or stock footage matched to each script line (45–60 min)
- Assemble everything in CapCut or Pictory, add captions and music (30–45 min)
- Design thumbnail in Canva (15 min)
- Write title, description, tags with AI help (10 min)
- Upload, schedule, and publish (10 min)
Total time: roughly 3–4 hours per video when you're just starting out. This drops significantly once you build templates and a repeatable routine.
15. Common Mistakes to Avoid
- Publishing AI scripts word-for-word without adding your own voice or fact-checking
- Switching niches every few videos instead of staying consistent
- Ignoring analytics — not checking which videos retain viewers longest
- Overloading thumbnails with too much text or clutter
- Skipping captions, which hurts accessibility and watch time
- Uploading inconsistently, which makes it harder for YouTube to build a habit around your channel
16. 30-Day Launch Checklist
- Week 1: Choose niche, channel name, and mission statement; set up channel art and profile
- Week 1: Research 20–30 video ideas; set up your AI tool accounts (script, voice, visuals, editing)
- Week 2: Produce and publish your first video using the full AI workflow above
- Week 2–3: Publish videos 2 and 3; start replying to every comment
- Week 3: Repurpose your best-performing video into 2–3 Shorts
- Week 4: Review YouTube Analytics — retention graph, click-through rate, traffic sources
- Week 4: Refine your script hook style and thumbnail style based on what performed best
End of guide. Tool names, features, and monetization thresholds change over time — always double-check current details directly on each platform before relying on them.