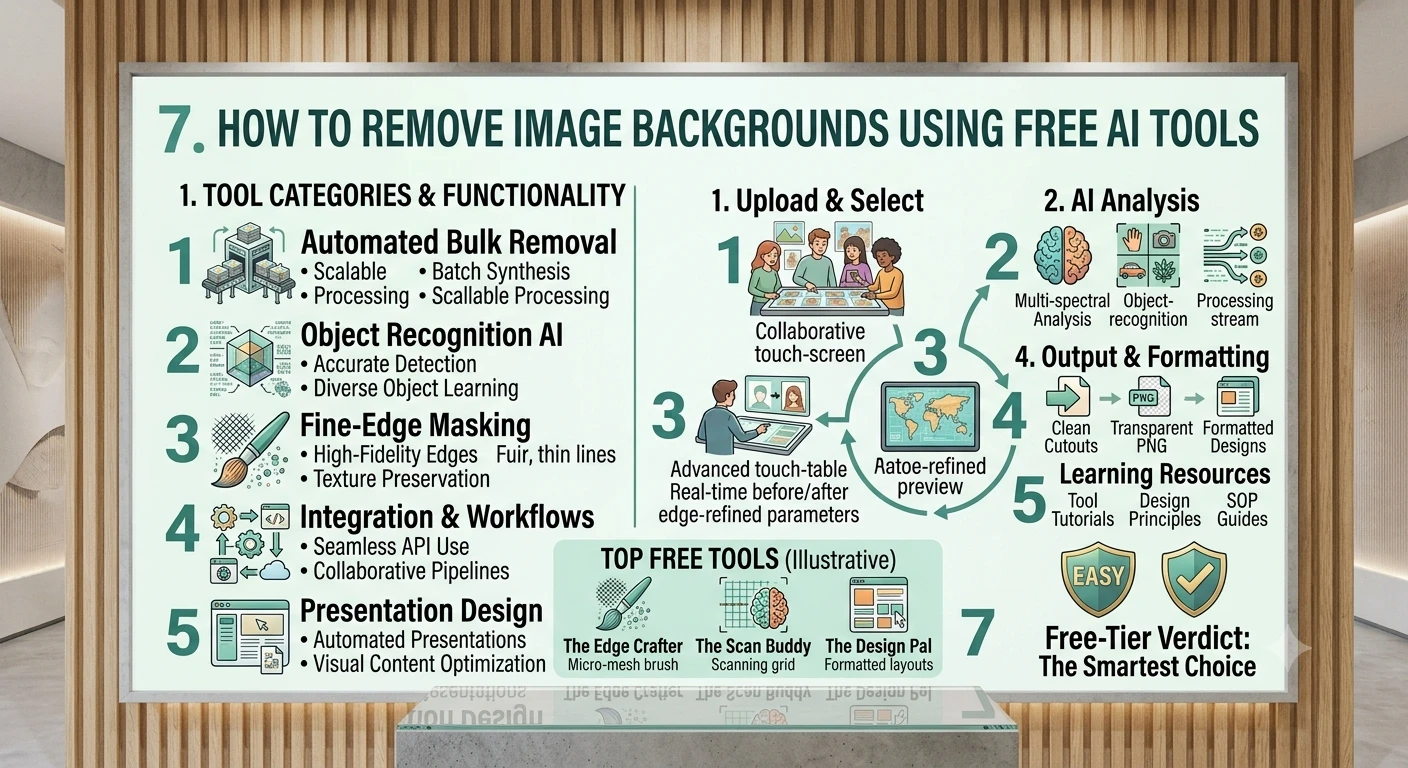
The fastest free ways to get a clean background removal without touching Photoshop.
1. Introduction: What "Free" Actually Means Here
Removing a background used to mean either a manual selection in Photoshop or paying a marketplace editor to trace around a subject by hand. AI changed that: modern segmentation models can isolate a subject from its background in a couple of seconds, including tricky cases like flyaway hair, pet fur, and semi-transparent objects that used to require real editing skill.
The word "free" in this category deserves some skepticism, though. Most tools that advertise themselves as free actually mean free-with-limits — a resolution cap, a watermark on the download, or a small monthly quota before a paywall appears. A smaller number of tools are genuinely free with no signup, no watermark, and full resolution, but they tend to be less widely known than the big consumer brands. This guide is honest about which is which, so the tool chosen actually matches what "free" means for a given project.
It walks through picking the right free tool for the image at hand, preparing the source photo, running the removal and checking the result, fixing the specific problems AI tools still get wrong (hair, fur, fine edges), exporting or batch-processing the output, and a comparison table of the most credible free options as of 2026.
2. How AI Background Removal Actually Works
Modern tools rely on segmentation models that classify every pixel in an image as either "subject" or "background," then generate a mask that gets applied as transparency. Older, simpler tools used basic matting algorithms that struggle badly with fine details. The newest generation, exemplified by models such as BiRefNet (Bilateral Reference Network), is specifically designed to handle complex boundaries — flyaway hair, fur, glass, and other soft or semi-transparent edges — which is exactly where older tools historically failed.
This matters practically because the same underlying model quality question explains almost every difference between tools in this guide: a tool built on a stronger segmentation model will simply produce cleaner edges on hard images, no matter how the interface around it looks.
3. Step 1 — Pick the Right Free Tool for Your Image
Not every free tool is built for the same job. Matching the tool to the image type saves a round of frustration later.
Truly free, no-signup tools
A smaller set of tools skip the account wall entirely. Upsampler's background remover, for instance, runs on the BiRefNet segmentation model and returns a full-resolution transparent WebP file with no watermark and no account required, using free daily processing minutes. NoBG.space is a similar option built around keeping images on-device for privacy. These are the right first stop for a one-off image with no budget and no interest in creating another account.
Free-with-limits consumer tools
The more recognizable names — remove.bg, Photoroom, Clipdrop, Adobe Express, Canva, and Pixelcut — all offer a free tier, but the fine print differs a lot. Adobe Express gives a genuinely useful free cutout with no credit limit once signed in with a free Adobe account, and it works directly on JPG, PNG, and WebP. Pixelcut positions itself as free with unlimited HD exports and no watermark. Clipdrop and Photoroom cap free use at a monthly image count (commonly 15–250 images) before watermarks or a paid plan kick in. remove.bg's free web preview is lower-resolution, with full-resolution downloads requiring paid credits.
Batch and workflow tools
If there's more than a handful of images to process, batch capability matters more than any other feature. Some newer tools are built specifically around uploading many images at once and downloading them together, rather than a strict one-image-at-a-time flow — worth checking explicitly before committing to a tool for a large product catalog.
Quick decision guide
| Your situation | Best free option |
|---|---|
| One-off image, no account wanted | Upsampler or NoBG.space |
| Already have an Adobe account | Adobe Express |
| Product/e-commerce photo with hard edges | Photoroom free tier |
| Want no watermark, unlimited free HD | Pixelcut |
| Processing dozens of images at once | A tool with explicit batch upload support |
4. Step 2 — Prepare the Source Photo
AI segmentation models are good, but they still work far better on a well-shot source image than a messy one. A few minutes of preparation before uploading anything noticeably improves the final cutout quality.
- Shoot with contrast in mind. A subject that's a similar color and brightness to its background is the hardest case for any segmentation model — plain, contrasting backdrops make the AI's job easier.
- Use even lighting. Harsh shadows or blown-out highlights around the subject's edge confuse the mask boundary, especially around hair.
- Shoot at the highest resolution available. Upscaling a small image after the fact never recovers detail the removal step needs; start large.
- Avoid busy or cluttered backgrounds when possible. Simpler backgrounds mean fewer edge cases for the model to get wrong, particularly around overlapping objects.
- Check the file format. Most free tools accept JPG, PNG, and WebP; convert unusual formats before uploading rather than relying on the tool to handle them.
None of this is mandatory — plenty of ordinary phone photos process just fine — but for a hard case like a portrait with loose hair or a pet with fine fur, this preparation step is often the difference between a clean first result and a frustrating round of manual touch-ups afterward.
5. Step 3 — Run the Removal and Check the Edges
The actual removal step is nearly identical across tools: upload the image, wait a few seconds for processing, and a transparent-background version is returned automatically, usually with a checkerboard pattern standing in for transparency in the preview.
1 Upload the source image at full resolution rather than a compressed or resized copy. 2 Let the tool process automatically. Most modern tools require no manual selection or brush work at this stage — that's the entire point of the AI step. 3 Zoom into the result at 100%, not the thumbnail preview. Edge problems are invisible at small preview sizes and obvious once you actually zoom in. 4 Check the hardest areas first: hair strands, fur, semi-transparent fabric or glass, and any place the subject's color is close to the original background color. 5 Decide whether the automatic result is usable as-is or needs the manual fixes covered in the next step.
Two failure patterns show up constantly in independent tests of these tools: missing fine details like individual hair strands, and color halos — a thin ring of the old background color left clinging to the edge of the subject. Both are worth specifically checking for before calling an image finished.
6. Step 4 — Fix Hair, Fur, and Fine-Detail Problems
Hair, fur, and fine edges remain the place AI background removal is most likely to need help, even with the best current models. A few practical fixes handle most cases without touching manual selection tools at all.
- Try a different tool before manually editing. Because edge quality depends heavily on the underlying segmentation model, a second free tool built on a stronger model (like a BiRefNet-based tool) sometimes fixes a bad result in seconds with zero manual work.
Use a dedicated "edge refine" or "cleanup" feature if the tool offers one. Several all-in-one tools bundle a manual touch-up brush specifically for edge cases the automatic pass misses.
- Watch for color halos — a thin fringe of the old background color around the subject — and use a matte/defringe tool if one is available, or a light manual erase along just that fringe.
- For genuinely difficult subjects (loose hair against a similar-toned background, or fine fur against high contrast), expect to combine the AI pass with a small amount of manual brush cleanup — this is normal even with the best current tools, not a sign of tool failure.
The realistic expectation for free AI tools in 2026 is that most images — product photos, portraits with tied-back hair, simple objects — come out clean with zero manual work. The genuinely hard cases (flyaway hair, fine fur, glass) usually need one round of touch-up, and that's a reasonable tradeoff for something that used to require professional retouching.
7. Step 5 — Export, Replace, or Batch Process
Once the cutout looks right, the last step is getting it into a usable final form.
- Export as a transparent PNG or WebP if the image will be placed onto different backgrounds later — this preserves the alpha channel that makes the removed area truly transparent rather than filled with white.
- Use a solid color or gradient background directly in-tool if the final use case needs a flat backdrop (e.g. a product listing that requires white or a specific brand color) — most tools offer this as a one-click option after removal.
- Use a background-generation feature if the tool has one — several e-commerce-focused tools can generate a new realistic scene behind the subject rather than just a flat color, useful for product photography.
- Batch process if there are many images with the same treatment needed — upload the full set at once on a tool that explicitly supports it, rather than repeating the single-image flow dozens of times.
8. Common Mistakes and How to Avoid Them
- Judging the cutout at thumbnail size instead of zooming to 100% before calling it finished.
- Not checking the free tier's real limits before starting a large batch — resolution caps and watermarks often only show up at export time.
- Uploading a low-resolution or heavily compressed source image and expecting a clean, sharp result.
- Ignoring color halos around the subject's edge, which are easy to miss at a glance but obvious once the image is placed on a new background.
- Assuming one tool's result is final when a different tool's segmentation model might handle the same hard edge case better.
- Skipping the format check and ending up with a flattened, non-transparent file that can't actually be placed on a new background.
9. Free Tool Comparison at a Glance
A quick reference across the most-cited free and free-tier tools as of 2026.
| Tool | Free Tier Reality | Standout | Watch-out |
|---|---|---|---|
| Upsampler | Fully free, no signup | BiRefNet edges, full-res WebP, no watermark | Daily processing minutes are capped |
| Adobe Express | Free with account, no credit limit | Trusted brand, clean transparent PNG | Requires a free Adobe account |
| Pixelcut | Free, unlimited HD, no watermark | Genuinely free at meaningful volume | Fewer advanced editing features than paid rivals |
| Photoroom | Free up to ~250 exports/month | Built-in background generation for products | Cap applies per month, not per image |
| Clipdrop | Free up to ~15 images/month | Relight + cleanup + removal in one place | Free cap is tight; really a trial tier |
| remove.bg | Free preview only, low-res | Cleanest edges on hair in independent tests | Full-resolution download needs paid credits |
| Canva | Free with limits, full with Pro | Convenient if already designing in Canva | Best used inside a larger design, not standalone |
Free-tier limits, pricing, and watermark policies change often — confirm current terms on each tool's own site before committing to it for a large or commercial batch of images.
10. Final Verdict: When Free Stops Being Enough
For personal projects, one-off edits, small creative work, and even a moderate amount of e-commerce photography, the current generation of free AI background removal tools is genuinely good enough — clean edges, real transparency, and in several cases no watermark or account required at all. This is a case where "free" is not a compromise version of a real product; for a meaningful slice of use cases, it is the real product.
The calculation changes once volume, consistency, or integration become the actual requirement. A business processing hundreds of product photos a week needs predictable batch processing and an API, not a manual upload-and-download loop against a monthly cap. A brand that depends on perfectly consistent edges across a large catalog will find that paid, purpose-built tools like Claid or remove.bg's paid tier invest specifically in the hardest edge cases — hair, fur, glass — in ways a general-purpose free tool doesn't prioritize as heavily.
A workable rule of thumb: start with a genuinely free, no-signup tool for anything occasional, move to a named free tier (Adobe Express, Pixelcut) once the volume becomes regular but still modest, and only pay for a dedicated e-commerce or API-driven tool once background removal becomes a recurring part of an actual business workflow rather than an occasional task.
This guide reflects publicly available information on free-tier AI background removal tools as of September 2026. Free-tier limits, pricing, and watermark policies change frequently — confirm current terms directly with each tool before relying on it for a large or commercial project.