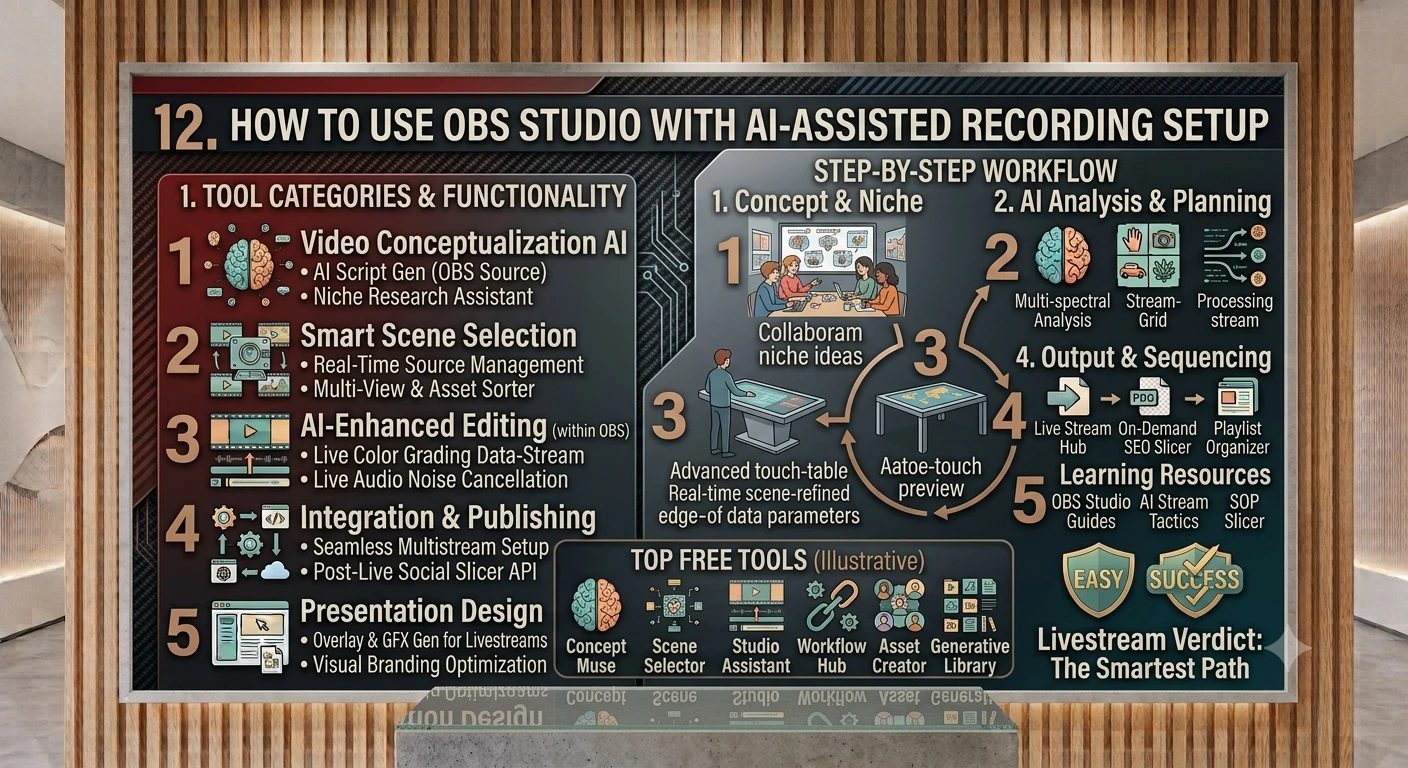
Setting up OBS Studio alongside AI tools to make recording and streaming noticeably smoother.
1. What OBS Studio Is (and Isn't) — and Where AI Fits In
OBS (Open Broadcaster Software) Studio is free, open-source software for screen recording and live streaming. It captures video/audio sources — your webcam, microphone, screen, browser windows — and lets you arrange them into 'scenes' that you record or stream. By itself, OBS does not have built-in AI features for things like noise removal or background replacement — those come from plugins and companion apps that plug into OBS as sources or filters.
Think of it this way: OBS is the stage and mixing desk. The AI tools in this guide are the crew members — a sound engineer removing background noise, a camera operator keeping you framed, and a stage manager switching scenes — all running automatically in the background.
An AI-Assisted Setup Typically Adds
- AI noise suppression so your mic doesn't pick up fans, keyboard clatter, or room echo
- AI background removal so you don't need a physical green screen
- AI auto-framing so you stay centered even if you move around
- AI scene-switching automation so you don't have to click scenes manually while recording
- AI live captioning for accessibility and easier editing later
2. Installing and Setting Up OBS Studio
- Download OBS Studio for free from obsproject.com, choosing the correct version for Windows, macOS, or Linux.
- Run the installer and accept the default options — the 'Auto-Configuration Wizard' that appears on first launch can automatically set resolution and bitrate for your hardware.
- In the Sources panel (bottom-left), click the '+' button to add your first sources: Video Capture Device (your webcam) and Audio Input Capture (your microphone).
- Create at least two Scenes (e.g., 'Starting Soon' and 'Main Recording') using the Scenes panel so you have something to switch between later.
- Open Settings fi Output and set your recording format to MP4 or MKV (MKV is safer against crashes; you can remux to MP4 afterward for free inside OBS).
- Open Settings fi Audio and set your correct microphone as the default input device, and disable any input devices you're not using to avoid picking up extra noise sources.
Do a 30-second test recording before adding any AI tools. This confirms your baseline audio/video works — it's much easier to troubleshoot problems one layer at a time.
3. AI Tool 1 — Noise Suppression & Audio Cleanup
Bad audio ruins a recording faster than bad video. AI noise suppression tools remove background hum, fan noise, keyboard clicks, and room echo in real time, before the sound ever reaches your recording.
Option A — OBS's Built-In Noise Suppression Filter 1. Right-click your microphone source in the Audio Mixer panel and choose Filters. 2. Click '+' and add a 'Noise Suppression' filter. 3. Set the method to 'RNNoise' (an AI/neural-network-based denoiser built into OBS) rather than the older 'Speex' option, for noticeably cleaner results. 4. Add a second filter, 'Noise Gate', below it to fully mute the mic between sentences when you're not speaking.
Option B — NVIDIA Broadcast (for NVIDIA GPU owners) NVIDIA Broadcast is a free app that uses AI to remove background noise and echo at the system level, then feeds a clean virtual microphone into OBS. Install it, enable 'Noise Removal' and 'Room Echo Removal', then select the 'NVIDIA Broadcast Microphone' as your input device inside OBS instead of your physical mic.
Option C — Krisp
Krisp is a cross-platform AI noise-cancellation app (works without an NVIDIA GPU). It creates a virtual microphone the same way — install it, turn on noise cancellation, and select the Krisp microphone as your OBS audio input.
Only use one noise-suppression layer at a time — stacking OBS's RNNoise filter on top of NVIDIA Broadcast or Krisp can over-process your voice and make it sound robotic.
4. AI Tool 2 — Background Removal (No Green Screen Needed)
AI background removal uses a segmentation model to detect a person in frame and separate them from the background in real time — letting you blur, replace, or remove your background without owning a physical green screen.
Option A — obs-backgroundremoval Plugin (free, open-source) 1. Download the 'obs-backgroundremoval' plugin (an ONNX-based AI segmentation plugin) from its GitHub releases page and install it following the instructions for your OS. 2. Restart OBS, right-click your webcam source, and choose Filters. 3. Add the 'Background Removal' filter from the list. 4. Choose how to handle the removed background: blur it, replace it with a solid color, or replace it with an image.
Option B — NVIDIA Broadcast Virtual Background If you already installed NVIDIA Broadcast for audio, it also offers an AI virtual-background feature. Enable it there, then add NVIDIA Broadcast's virtual camera as your Video Capture Device source in OBS instead of your physical webcam.
AI background removal works best with even lighting on your face and some contrast between you and the wall behind you — busy or dim backgrounds cause more edge flicker around your hair and shoulders.
5. AI Tool 3 — Auto-Framing & Smart Camera Tracking
Auto-framing uses AI face/person detection to automatically crop, center, and resize your webcam view as you move — useful if you present standing up or move around while talking.
- Intel OpenVINO AI Plugins for OBS — includes a 'Smart Framing' filter that detects faces in the scene and automatically crops/centers/resizes around them; supports CPU, GPU, and Intel NPU acceleration
- NVIDIA Broadcast — also includes an 'Auto Frame' feature that keeps you centered as you move, available alongside its noise removal and background tools
Enable only one auto-framing tool at a time and test it before a real recording — aggressive framing settings can look jittery if you move quickly.
6. AI Tool 4 — Automated Scene Switching
Instead of manually clicking between scenes (e.g., 'Webcam Only', 'Screen Share', 'Starting Soon') while you record or present, automation plugins switch scenes based on rules you set.
Advanced Scene Switcher Plugin
- Download 'Advanced Scene Switcher' from the OBS Forum/GitHub and install it as a plugin.
- Open it from OBS's Tools menu once installed.
- Create a macro: a condition (e.g., 'a specific application gains focus', 'microphone audio rises above a threshold', or 'a set amount of time passes') and an action (e.g., 'switch to Scene X').
- Test each macro in a short trial recording before relying on it live.
This plugin isn't a generative AI model — it's rule-based automation — but it's the tool most creators mean when they talk about 'smart' or 'automatic' scene control in OBS.
7. AI Tool 5 — Live Captions & Transcription
Live or near-live captions make your recording more accessible and give you a searchable transcript you can use later for editing, show notes, or repurposing into short clips.
- OBS's built-in Closed Captions (Windows only, via Settings fi Accessibility) — uses your system's speech recognition to generate live captions burned into your stream/recording
- Third-party captioning plugins/apps that route your audio to a speech-to-text service and feed the text back into OBS as a text source overlay
Captions generated live are rarely perfect — treat them as a rough transcript to clean up in your editor afterward rather than a final, publish-ready caption track.
8. Putting It All Together: A Full AI-Assisted Recording Setup
A typical layered setup, built in the order you'd configure it: 1. Physical mic fi NVIDIA Broadcast or Krisp (AI noise removal) fi selected as OBS's audio input 2. Physical webcam fi NVIDIA Broadcast or obs-backgroundremoval (AI background removal ± auto-frame) fi selected as OBS's video source 3. Advanced Scene Switcher running in the background to handle scene changes automatically 4. OBS's built-in Noise Gate filter as a light second pass on the already-cleaned audio 5. Optional live captions enabled for accessibility and a rough transcript
9. Recording Settings for Clean, Editable Footage
- Format: Record in MKV, then remux to MP4 after — MKV recovers gracefully from crashes or power loss
- Resolution: Match your canvas and output resolution (e.g., 1920x1080) to avoid unnecessary scaling
- Frame rate: 30fps is fine for most talking-head content; use 60fps for gameplay or fast motion
- Encoder: Use a hardware encoder (NVENC for NVIDIA, QuickSync for Intel, AMF for AMD) if available — it's lighter on your CPU than the default x264 software encoder, leaving more headroom for the AI plugins running alongside OBS
- Separate audio tracks: In Settings fi Output (Advanced mode), route your mic and desktop audio to separate tracks — this makes it far easier to balance levels or mute one source later in editing
AI plugins add CPU/GPU load on top of OBS itself. If you notice dropped frames, disable one AI filter at a time to find which one your hardware is struggling with, and prefer hardware encoding over software.
10. Tool Stack Summary Table
| Need | Tool | Free? |
|---|---|---|
| Noise suppression | OBS RNNoise filter (built-in) | Yes |
| Noise + echo removal | NVIDIA Broadcast | Yes (NVIDIA GPU) |
| Noise cancellation | Krisp | Free tier / paid |
| Background removal | obs-backgroundremoval plugin | Yes |
| Background + auto-frame | NVIDIA Broadcast | Yes (NVIDIA GPU) |
| Smart framing | Intel OpenVINO AI Plugins | Yes (Intel hardware) |
| Scene automation | Advanced Scene Switcher | Yes |
| Live captions | OBS Closed Captions (Windows) | Yes |
11. Common Mistakes to Avoid
- Stacking multiple noise-suppression tools at once, which can make your voice sound distorted or robotic
- Enabling every AI filter at maximum strength without testing — most have adjustable intensity, and pushing too hard causes visible artifacts (background edge flicker, warped audio)
- Recording directly to MP4 without a UPS or stable power — a crash mid-recording can corrupt the file; MKV avoids this
- Not doing a short test recording before a real session — AI plugins add CPU/GPU load, and you want to catch dropped frames early
- Relying on live captions as a final transcript without proofreading — speech recognition still makes errors, especially with names and technical terms
- Forgetting to separate audio tracks, which makes fixing levels or muting background noise much harder in post-production
12. Quick-Start Checklist
- Install OBS Studio and run the Auto-Configuration Wizard
- Add webcam and microphone sources, then do a 30-second baseline test recording
- Add an AI noise-suppression layer (OBS RNNoise, NVIDIA Broadcast, or Krisp) — pick one, not several
- Add AI background removal if you want to skip a physical green screen
- Add auto-framing if you move around while presenting
- Install Advanced Scene Switcher if you want hands-free scene changes
- Set recording format to MKV, choose a hardware encoder, and separate your audio tracks
- Do a full test recording with every AI tool enabled together, and check for dropped frames or audio artifacts before your real session
End of guide. Plugin names, versions, and compatibility with the current OBS release change over time — always confirm a plugin is actively maintained and matches your OBS version before installing.